best home espresso setup for beginners
Best Home Espresso Setup for Beginners
A practical beginner home espresso setup guide: machine, grinder, scale, water, accessories, and what to skip until shots improve.
Reading brief
Decision first. Evidence immediately after. By Marco Reyes If you are buying your first serious home espresso setup, the best beginner kit is not the most expensive machine you can afford. It is a balanced workflow: a capable machine, an espresso-capable grinder, a scale, fresh beans, sensible water, and enough counter space to repeat the same shot twice.
My short answer, after eight years and several machines: put real money into the grinder, buy a machine you can learn on, and keep the accessories boring. A beautiful machine with an imprecise grinder turns into a daily guessing game. A modest machine with a grinder that can make small espresso adjustments gives you room to improve. I learned this backwards — I bought the shiny machine first — so this guide is the version I wish someone had handed me.
The beginner setup that makes sense
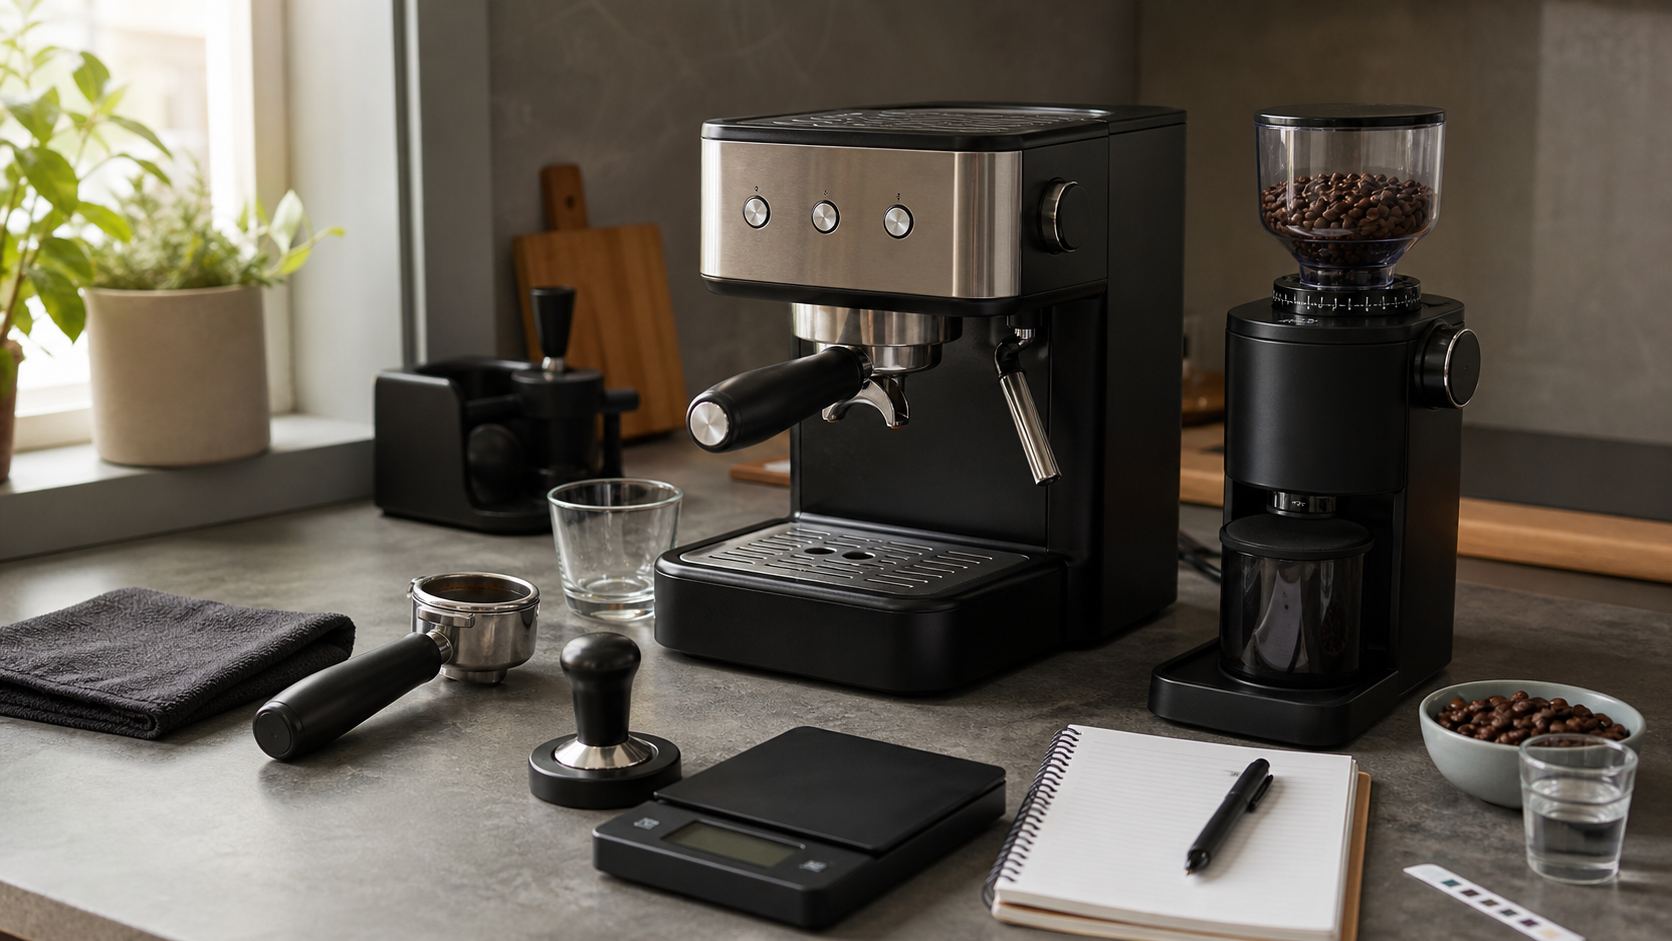
Start with these pieces:
- Machine: a compact semi-automatic machine with real espresso pressure, a usable steam wand, and baskets you can learn with.
- Grinder: an espresso-capable burr grinder with fine adjustment.
- Scale: any fast 0.1g scale that fits under your cup.
- Tamper and basket: use what comes with the machine first unless it is clearly unusable.
- Water routine: know whether your water is hard before you start ignoring descaling.
- Notebook: write dose, yield, time, grind setting, and taste.
That last item sounds silly until your third sour shot. Rancilio’s dialing-in guide asks you to record dose, brewed weight, time, and taste for a reason: espresso improves when you can see patterns instead of chasing your mood. The morning I started writing things down was the morning my shots stopped being random. Nothing in this list is glamorous, and that is the point — a beginner setup wins on repeatability, not on features.
Where the machine fits
A beginner machine should not be judged only by price. It should answer three practical questions:
- Can it heat quickly enough that you will actually use it?
- Can it accept a consistent dose and basket workflow?
- Can you steam milk without turning the counter into a panic scene?
The Breville Bambino is a useful example of the category because Breville lists a 54mm portafilter, an 18g coffee dose, and a ThermoJet heating system that reaches extraction temperature in 3 seconds on the product page. Breville also lists the Bambino footprint at 6.25 x 13.5 x 12 inches, which makes it realistic for small kitchens. The Bambino Plus keeps the compact idea but adds a hands-free automatic milk wand with three temperatures and three textures, plus a larger 64 fl oz water tank.
That does not mean everyone should buy a Bambino. It means a good beginner machine needs to be compact, repeatable, and honest about its limits. If the machine eats the whole budget and leaves you grinding with a blade grinder or stale pre-ground coffee, the setup is backwards. If you are weighing those two specific models, the Bambino vs Bambino Plus comparison breaks down exactly where the extra money goes — and it is milk convenience, not better espresso.
The features I would not chase as a beginner: huge boilers, dual-boiler bragging rights, PID displays you cannot yet use, and pressure gauges you do not yet know how to read. They are not bad. They are just answers to questions you have not earned yet.
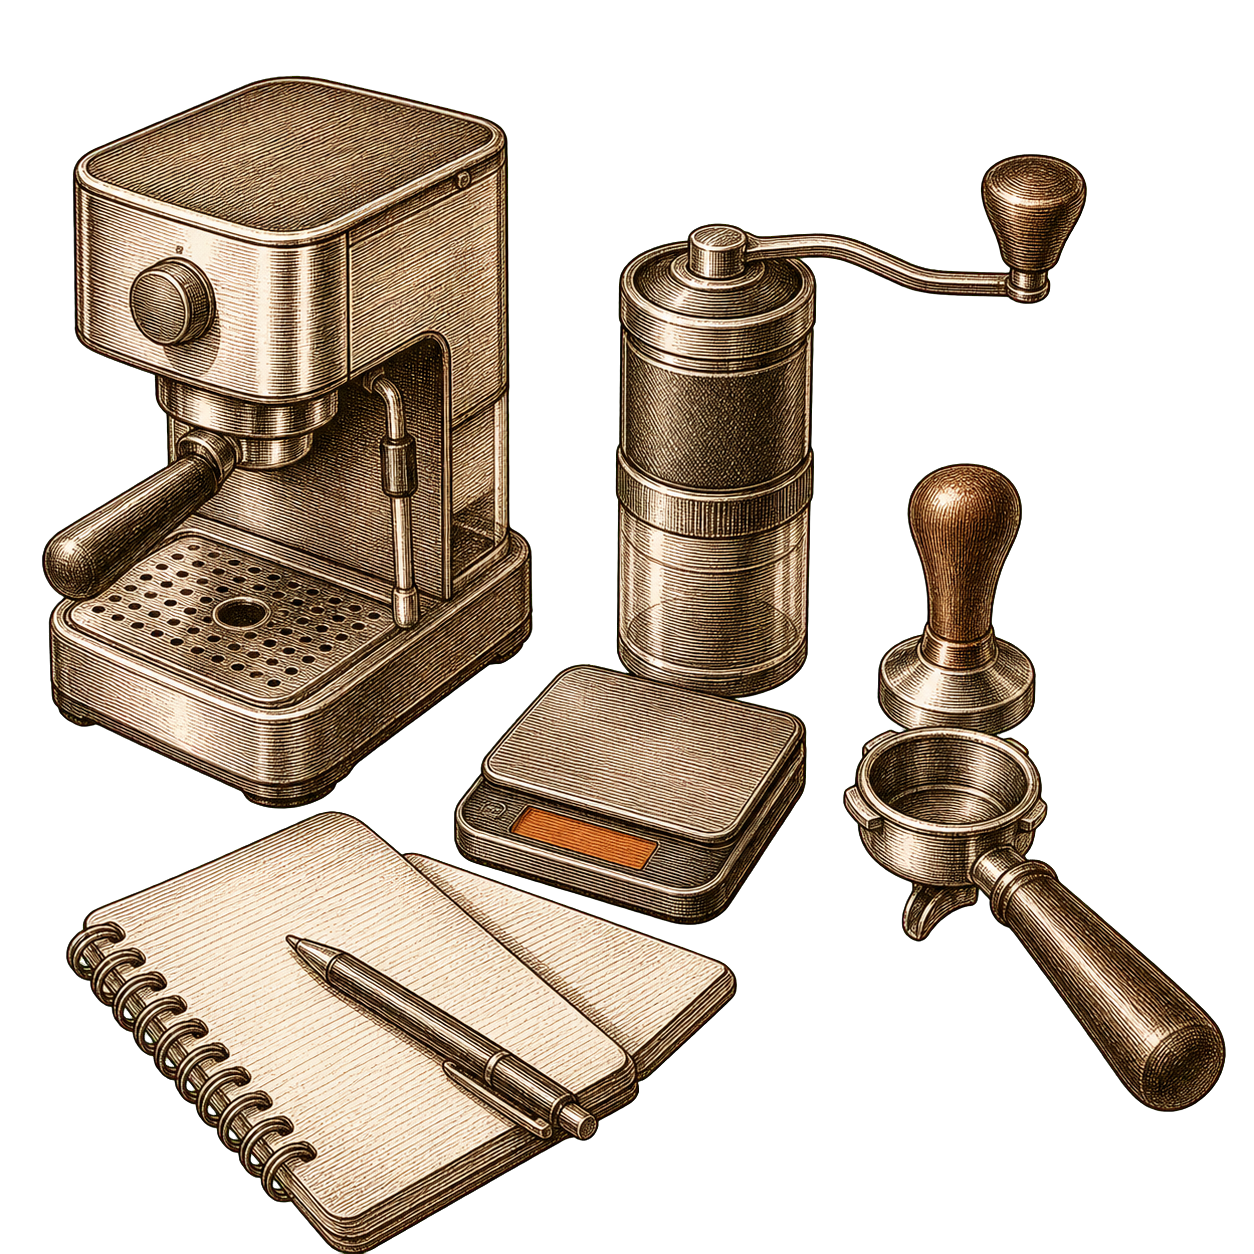
Where the grinder fits
The grinder decides how precisely you can slow down or speed up the shot. CoffeeReview’s espresso grinding reference makes the core point plainly: pump and piston espresso machines need much more precise grinding than simple brewing devices. That is why the grinder is not an accessory in espresso. It is part of the brewing system, and it is the part that does the most work for the cup.
Here is the failure mode I see most often in beginners: a $600 machine paired with a $40 grinder. The shots run fast and sour, the owner blames the machine, and they start shopping for a more expensive brewer. The real fix was a grinder that could move in small steps. CoffeeReview’s point about precision is not abstract — it is the difference between a grinder where one click goes from “too fast” to “choked” and one where you can actually find the setting in between.
The Baratza Encore ESP is one current entry-level example because Baratza positions it specifically for espresso and filter use, with the fine espresso range separated from broader brew settings. Whether you choose that model, a hand grinder, or another electric grinder, the important trait is adjustment resolution. If one click jumps from too fast to choked, you will fight the grinder every morning. Read the deeper version here: grinder vs espresso machine budget.
What I would buy at common budgets
Around $300
I would not try to build a full new espresso setup here unless I already had a capable grinder. This is used-gear territory, manual-grinder territory, or “buy the grinder now and wait on the machine” territory. The temptation is an all-in-one machine with a built-in grinder at this price, and I understand the appeal, but the grinder inside those is usually the compromise. If you already own a machine, spend the money on a grinder and a scale. If you own neither, read the budget-machine warning first: is a sub-$300 espresso machine worth it?.
Around $500
This is where beginner espresso starts to make sense. A compact machine plus a serious entry grinder is more useful than a nicer machine paired with weak grinding. The setup may not steam milk like a cafe machine, but it can teach dose, yield, grind, and timing — the four things that actually make espresso taste good. This is the budget where I tell most first-timers to land.
Around $700-$900
Now you can choose between convenience and tinkering. You might move up to better steaming, a sturdier machine, or a grinder with easier micro-adjustment. Do not upgrade everything at once. Upgrade the bottleneck you can actually feel. If milk is your daily pain, spend on steaming. If every bean feels like a new crisis, spend on the grinder. The mistake here is buying a second of everything because the budget allows it.
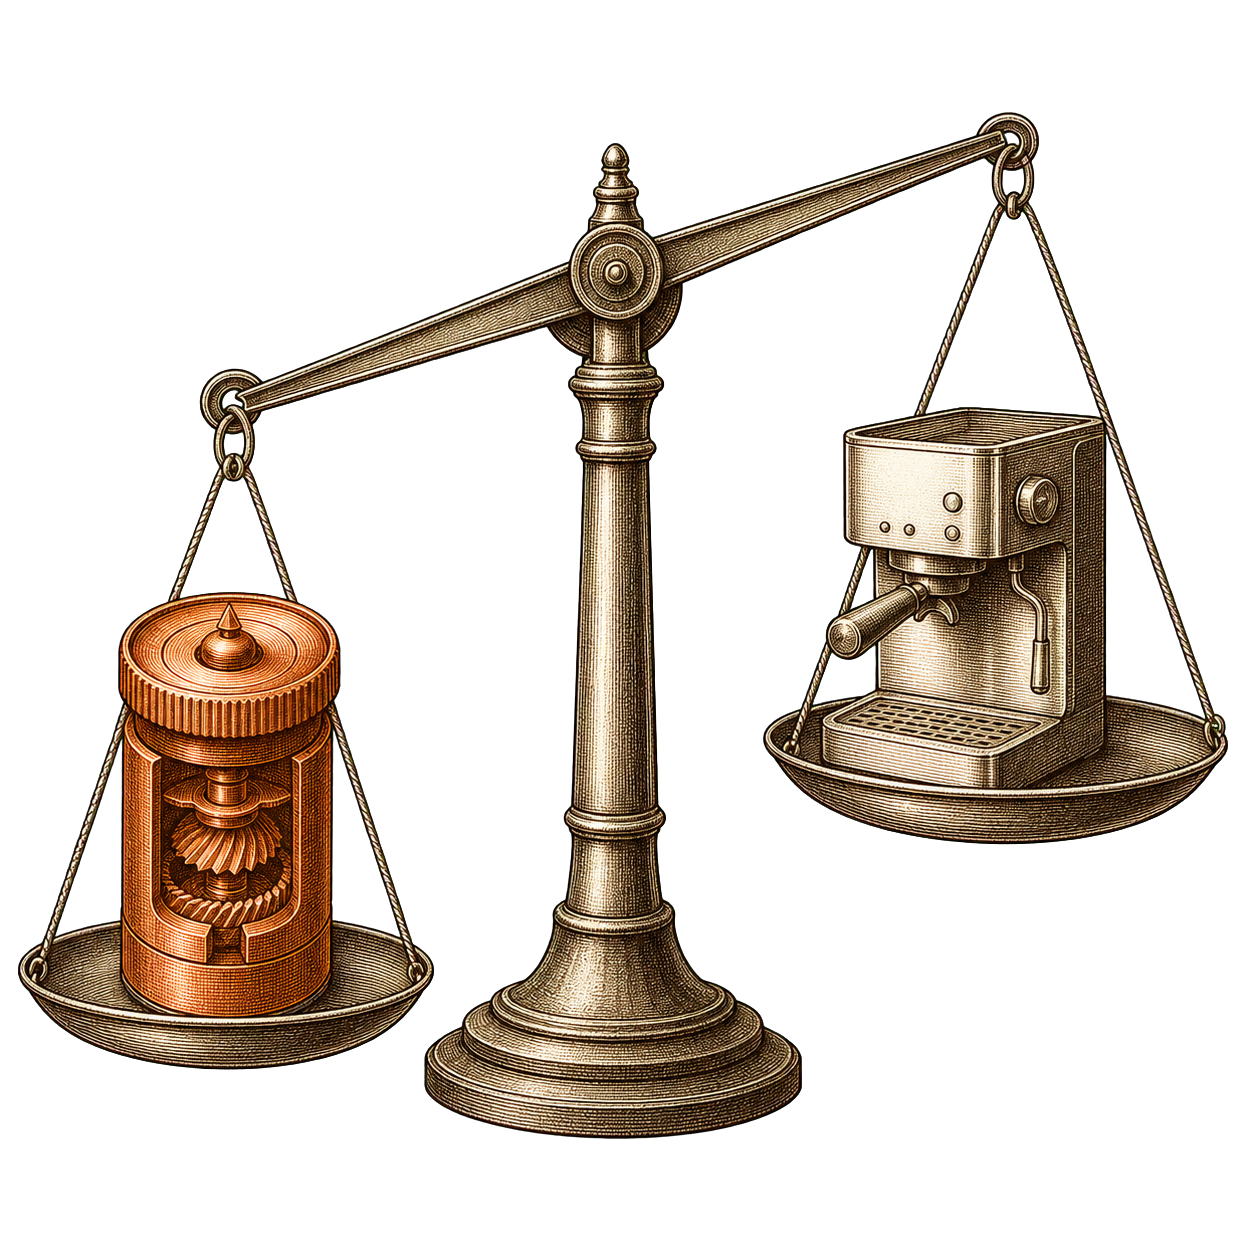
Your first recipe, so the gear has a job
Gear is pointless without a target. Start every beginner at the same anchor: an 18g dose into the double basket, a 1:2 ratio out — so roughly 36g in the cup — in somewhere around 25 to 30 seconds. That is not a sacred law; it is a starting line you adjust against. The reason it matters for a setup guide is that this recipe is what tells you whether your gear can do its job. If you cannot hit a repeatable 18-in, 36-out shot, no upgrade will save you, because you will not be able to tell what the upgrade changed.
Pull the shot on a scale, time it, taste it, write it down, then change exactly one thing. That loop is the entire skill. The machine and grinder are just the instruments that let you run it.
The water question, early
People skip water until a machine dies. Do not. Before you start ignoring maintenance, learn whether your tap water is hard, because scale is the quiet killer of small machines. You do not need a chemistry kit on day one — a hardness test strip and a glance at your local water report is enough to know whether you are in trouble. The full version of why this matters is here: hard water and espresso machines. For a beginner setup, the takeaway is simple: build a water and descaling habit from the first week, not the first breakdown.
Accessories to skip at first
Skip fancy distribution tools, premium tampers, puck screens, and precision baskets until you can repeat a basic recipe. The first useful accessories are boring:
- A scale
- A towel
- A knock box or knock bowl
- A cleaning brush
- Descaler or cleaning tablets recommended for your machine
Once your shots are consistent, extra tools become easier to judge. Before that, they mostly give you new variables to blame. I owned a drawer of distribution gadgets before I owned a grinder that could dial in — that is exactly the wrong order, and it cost me real money.
If you have to buy it in pieces
Not everyone can buy the whole setup at once, and honestly, staging it over a few paychecks is a fine way to do it — it spreads the learning out too. Here is the order I would buy in if the budget arrives in chunks.
Buy the grinder and a scale first, even before the machine, if you do not own either. That sounds backwards until you realize a real burr grinder serves drip, pour-over, and French press while you save for the espresso machine, so it earns its keep immediately and you are learning grind control on easier brew methods in the meantime. The scale is cheap and teaches you to weigh everything from day one.
Buy the machine second, matched to the grinder you already chose and the drinks you actually make. Because the grinder is settled, you can pick the machine purely on space, steam needs, and budget without compromising the part that decides cup quality.
Buy accessories last, and only the ones that replace a step you do badly. By the time you are pulling repeatable shots, you will know whether you actually need a better tamper or a knock box, instead of guessing from a product photo. Staging it this way also prevents the classic beginner mistake of blowing the budget on a machine and having nothing left for the grinder — the single most common reason first setups disappoint.
FAQ
Do beginners need a grinder for espresso? Yes, if you want repeatable shots. Pre-ground coffee can work with pressurized baskets, but a burr grinder gives you control over flow and extraction, which is the whole game.
Should I buy a machine with a built-in grinder? Only if convenience matters more than upgrade flexibility. A separate grinder is easier to replace, clean, and pair with a future machine. The built-in grinder is usually the first thing you outgrow.
How much should I spend on my first setup? Around $500 is where a compact machine plus a real espresso grinder starts to make sense. Below that, buy the grinder first and wait on the machine.
What should I fix before upgrading? Fix sour shots, watery shots, water routine, and grinder control first. Start with why espresso tastes sour before assuming the machine is the problem.
The decision
Build the setup around repeatability. Buy the grinder that lets you adjust in small steps. Buy the machine that fits your drinks and space. Anchor every shot to 18g in and 36g out, then write down what happens. That simple loop will improve your espresso faster than a more expensive machine you cannot control. When you are ready to settle the grinder-or-machine money question for good, read grinder vs espresso machine: budget priority.
Source-verified and edited by Marco Reyes. Data current as of June 2, 2026.
References