sour espresso shots fix
Why My Espresso Tastes Sour: Fixes to Try First
Sour espresso usually means under-extraction. Diagnose grind, yield, dose, temperature, and puck prep without changing everything at once.
Reading brief
Decision first. Evidence immediately after. By Marco Reyes Sour espresso usually means the coffee did not extract enough before you stopped the shot. It tastes sharp, thin, lemony, grassy, or hollow. The fix is not to change five things at once. Change one variable, pull another shot, and write down what happened.
The fastest starting move: grind a little finer while keeping dose and yield the same. If that improves the shot but does not fully fix it, then adjust yield, dose, temperature, or puck prep. Almost every sour shot I have ever diagnosed — mine or someone else’s — came down to one of those five, and they have a reliable order. Work them in order and you will fix the shot without buying anything.
First, make sure it is actually sour
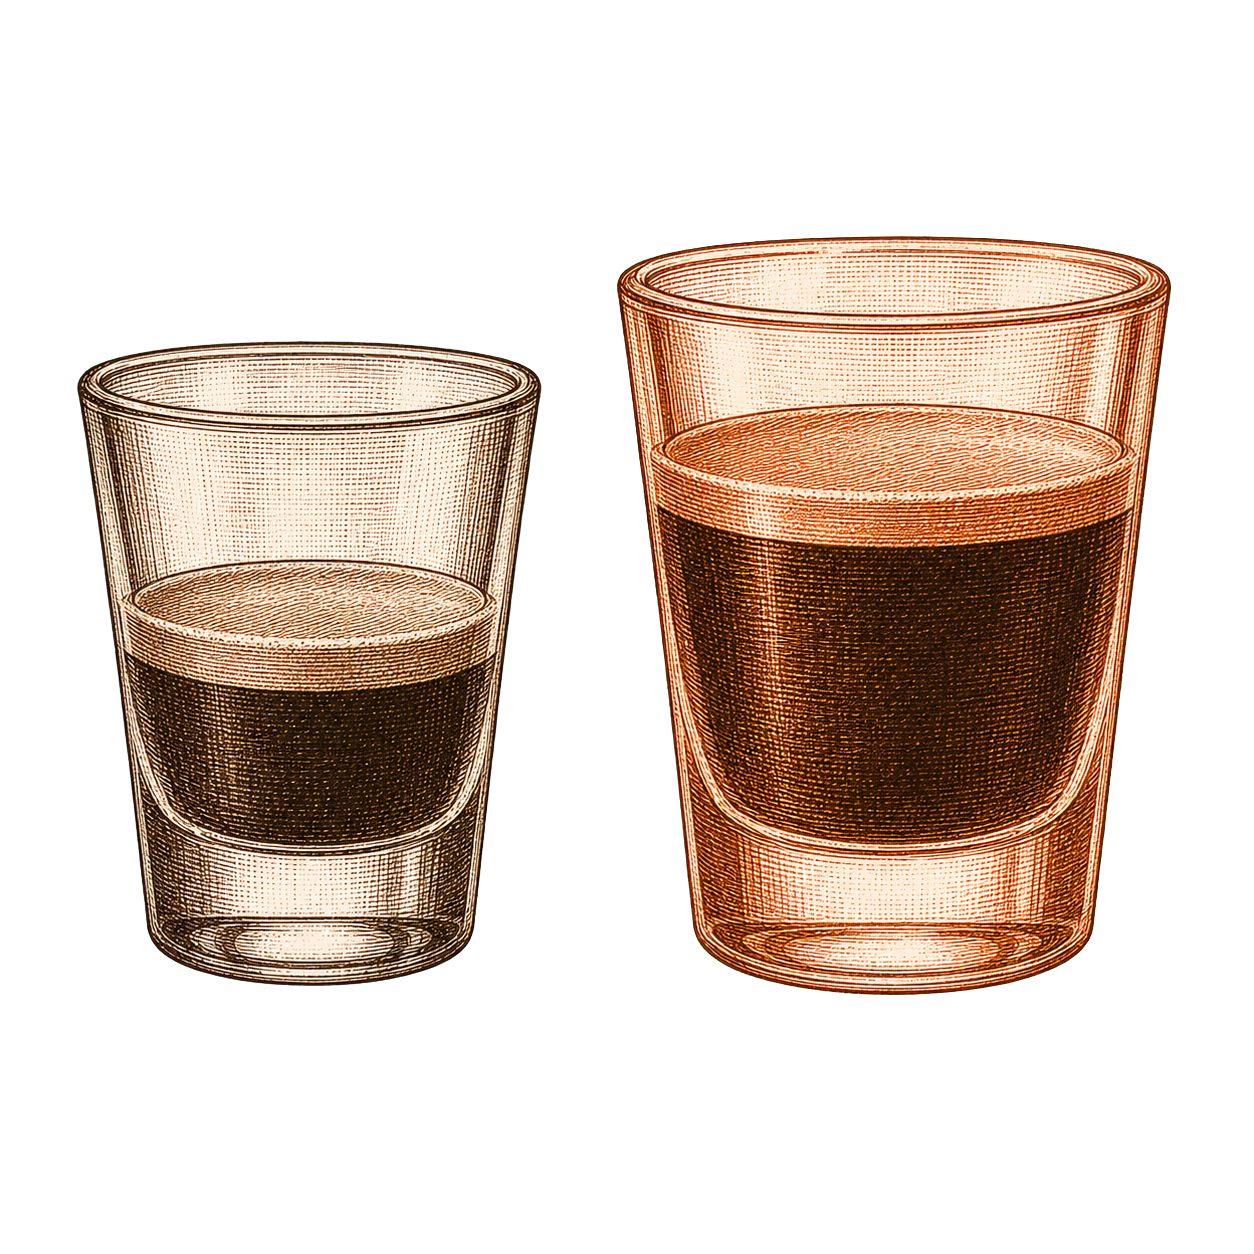
Pleasant acidity is not the same as sourness. A bright coffee can taste like citrus and still feel sweet, round, and clean. A sour shot feels unfinished. It often has a thin body and a fast finish, and it makes you wince rather than reach for the next sip.
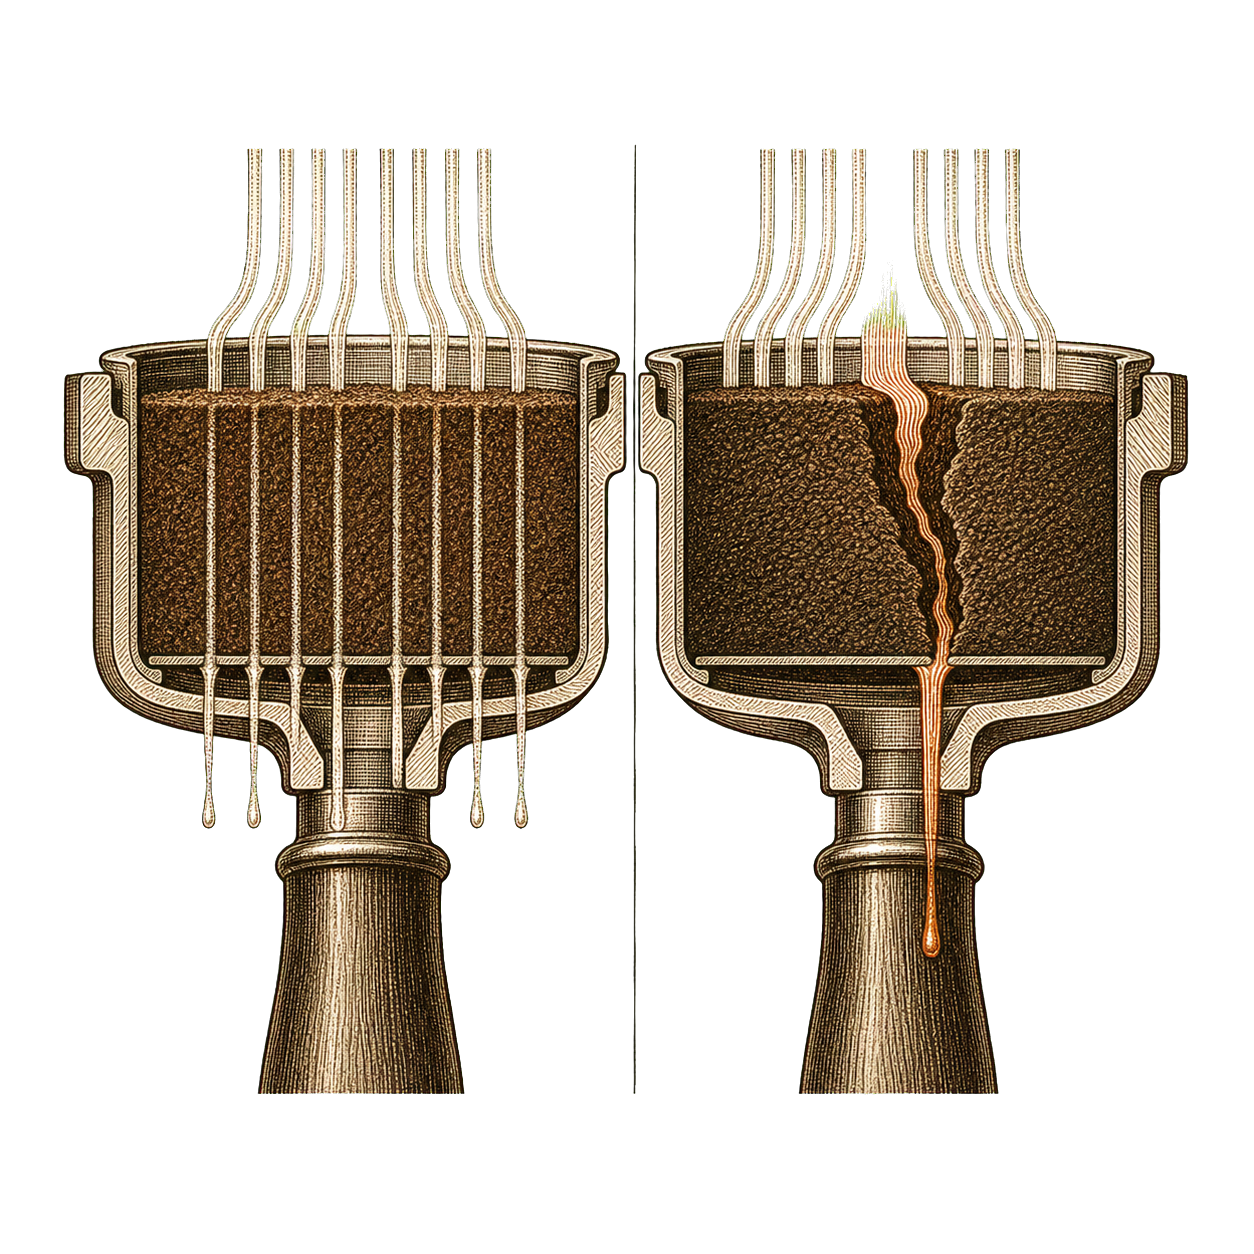
If the shot is both sour and watery, assume under-extraction first. If it is sour and bitter at the same time, suspect channeling: some water rushed through weak spots while the rest of the puck stayed under-extracted. That sour-and-bitter combination confuses people because it feels like the shot is both over and under at once — and in a sense it is, in different parts of the same puck. Naming the symptom correctly is half the fix, because grinding finer helps a uniformly under-extracted shot but can make a channeling shot worse.
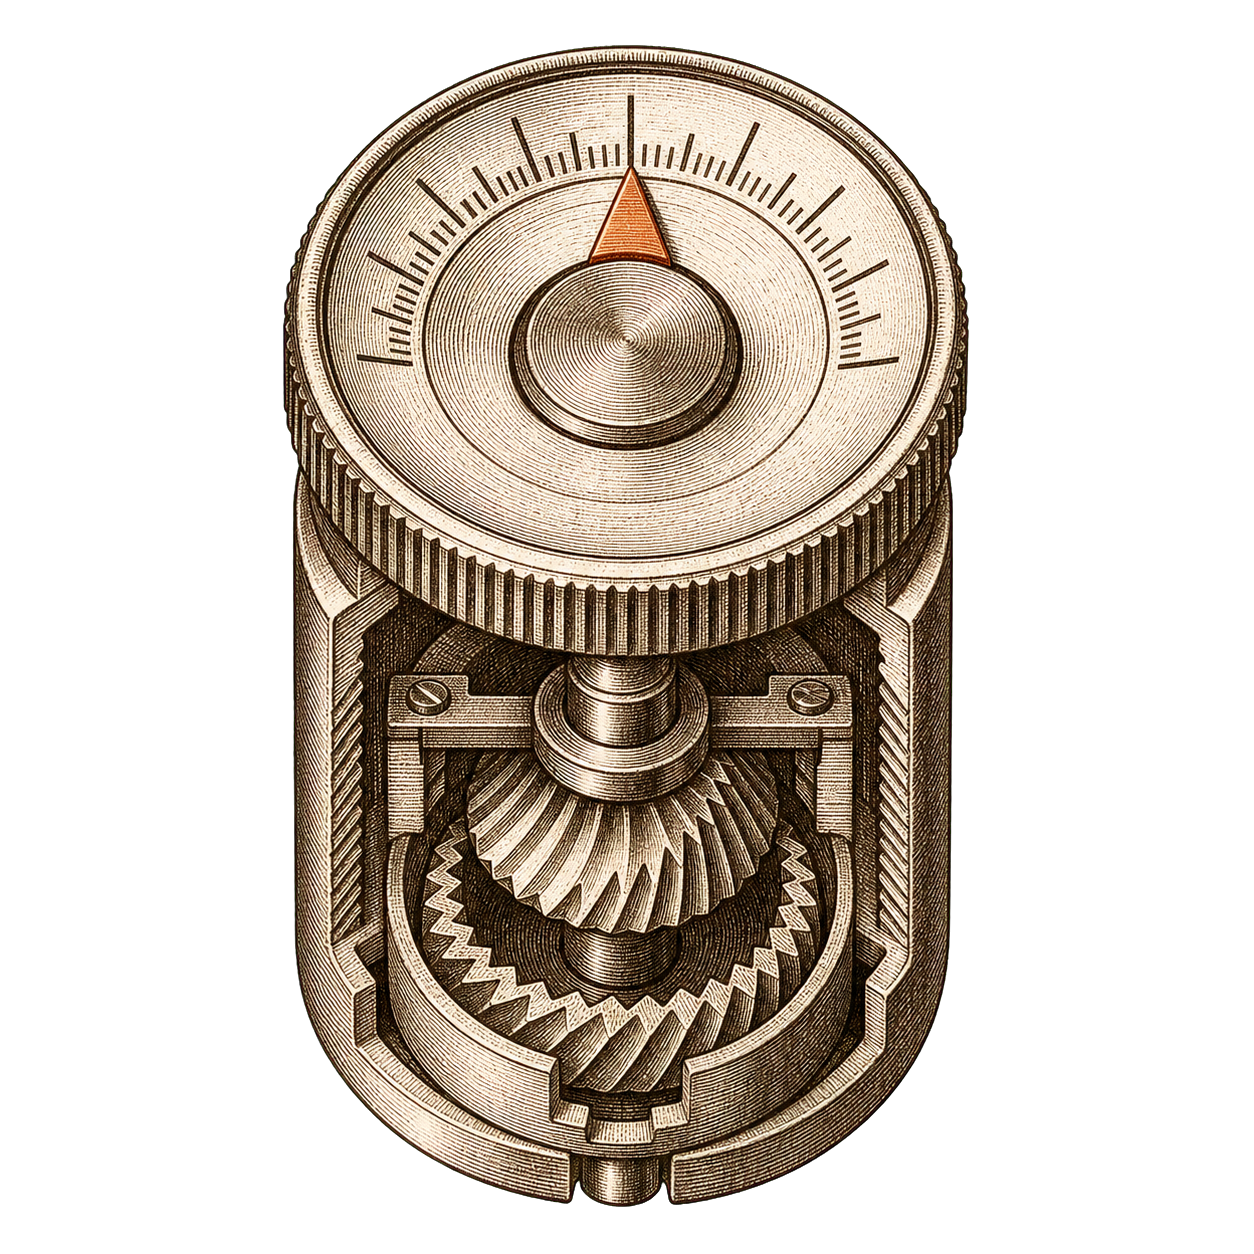
Fix 1: grind finer
Rancilio’s grind adjustment guide frames sour, watery, fast espresso as under-extracted and points to a coarser grind as one cause. Their fix is to make the grind finer so the water has more resistance and more contact time with the coffee. This is the first lever for a reason: it directly addresses the most common cause, and CoffeeReview’s espresso grinding reference underlines why it works on espresso specifically — pump machines need a precise grind, so small grind changes move the shot more than they would on a drip brewer.
Do this carefully:
- Keep the same dose.
- Keep the same target yield.
- Move the grinder one small step finer.
- Pull the next shot.
- Record time and taste.
If the shot improves, keep going in small steps. If the machine chokes or the shot turns harsh, back up. The discipline that separates people who dial in from people who stay frustrated is this: one step, one shot, one note. The urge to make three changes at once because you are impatient is exactly what keeps the shot random.
Fix 2: increase the yield slightly
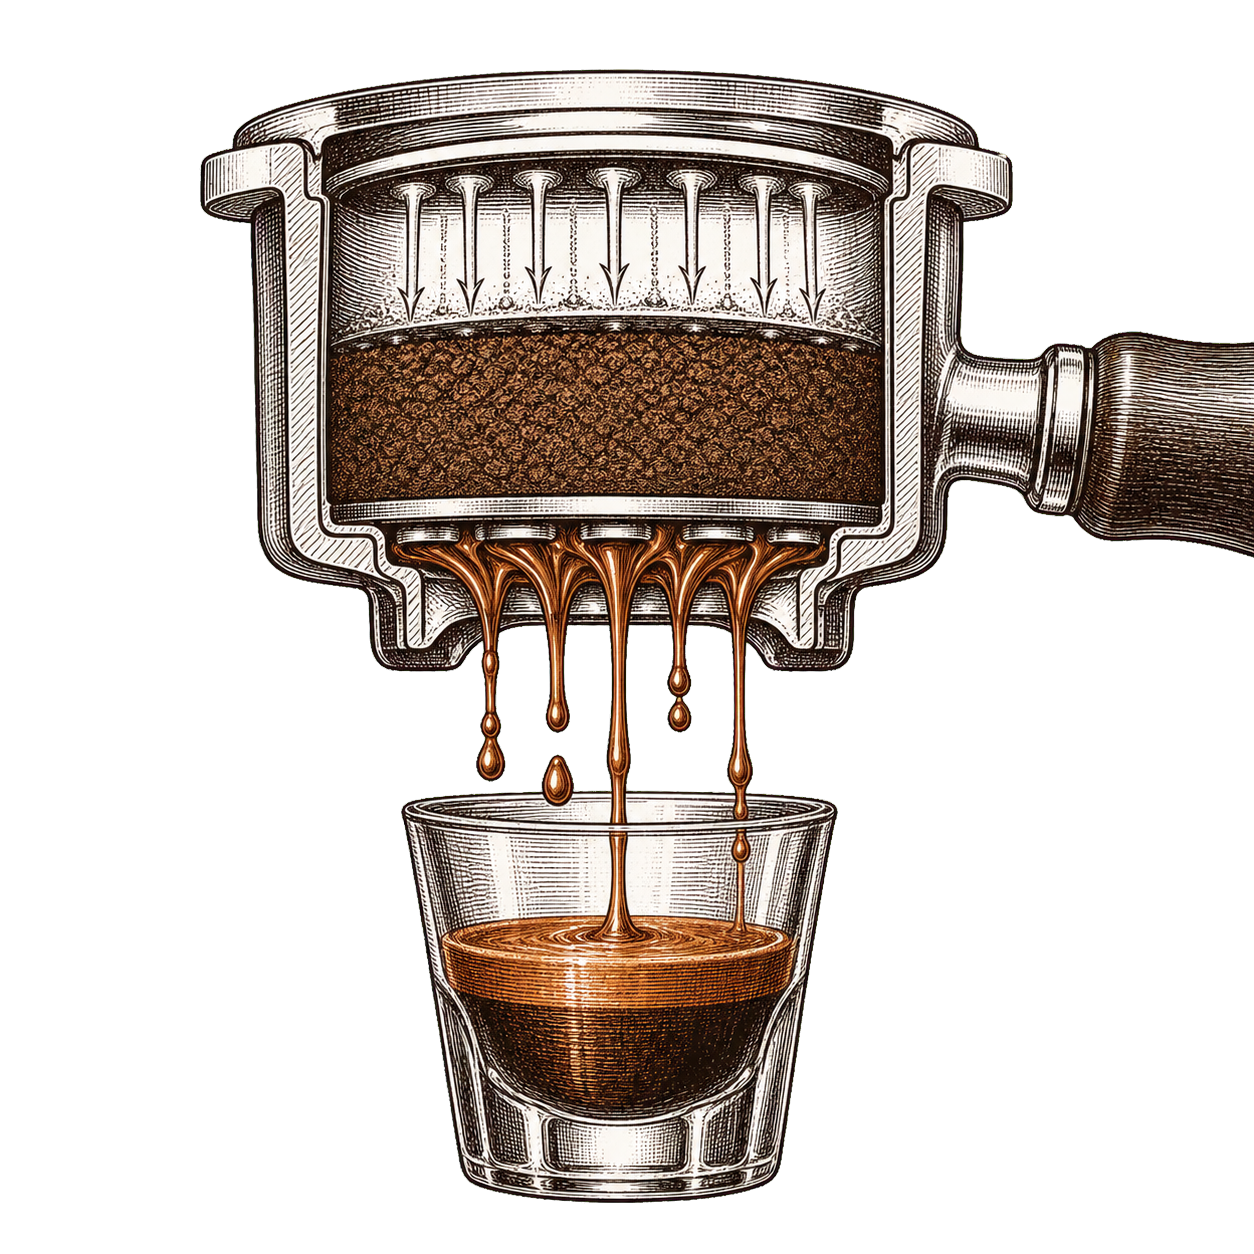
If a 1:2 shot still tastes sharp, try pulling a little longer. For example, if you started with 18g in and 36g out, try 40g out while keeping the grind the same. More water can extract later sweetness, especially with lighter roasts. What you are doing here is letting the shot run into its sweeter, more soluble back-half before you cut it — sourness lives in the early extraction, sweetness and balance come later.
Do not use this as a way to rescue a wildly coarse grind. If the shot gushes, fix grind first. Stretching the yield on a gushing shot just gives you more weak, sour liquid. Yield is a fine-tuning lever, not a rescue lever — it works once the grind is already in the neighborhood.
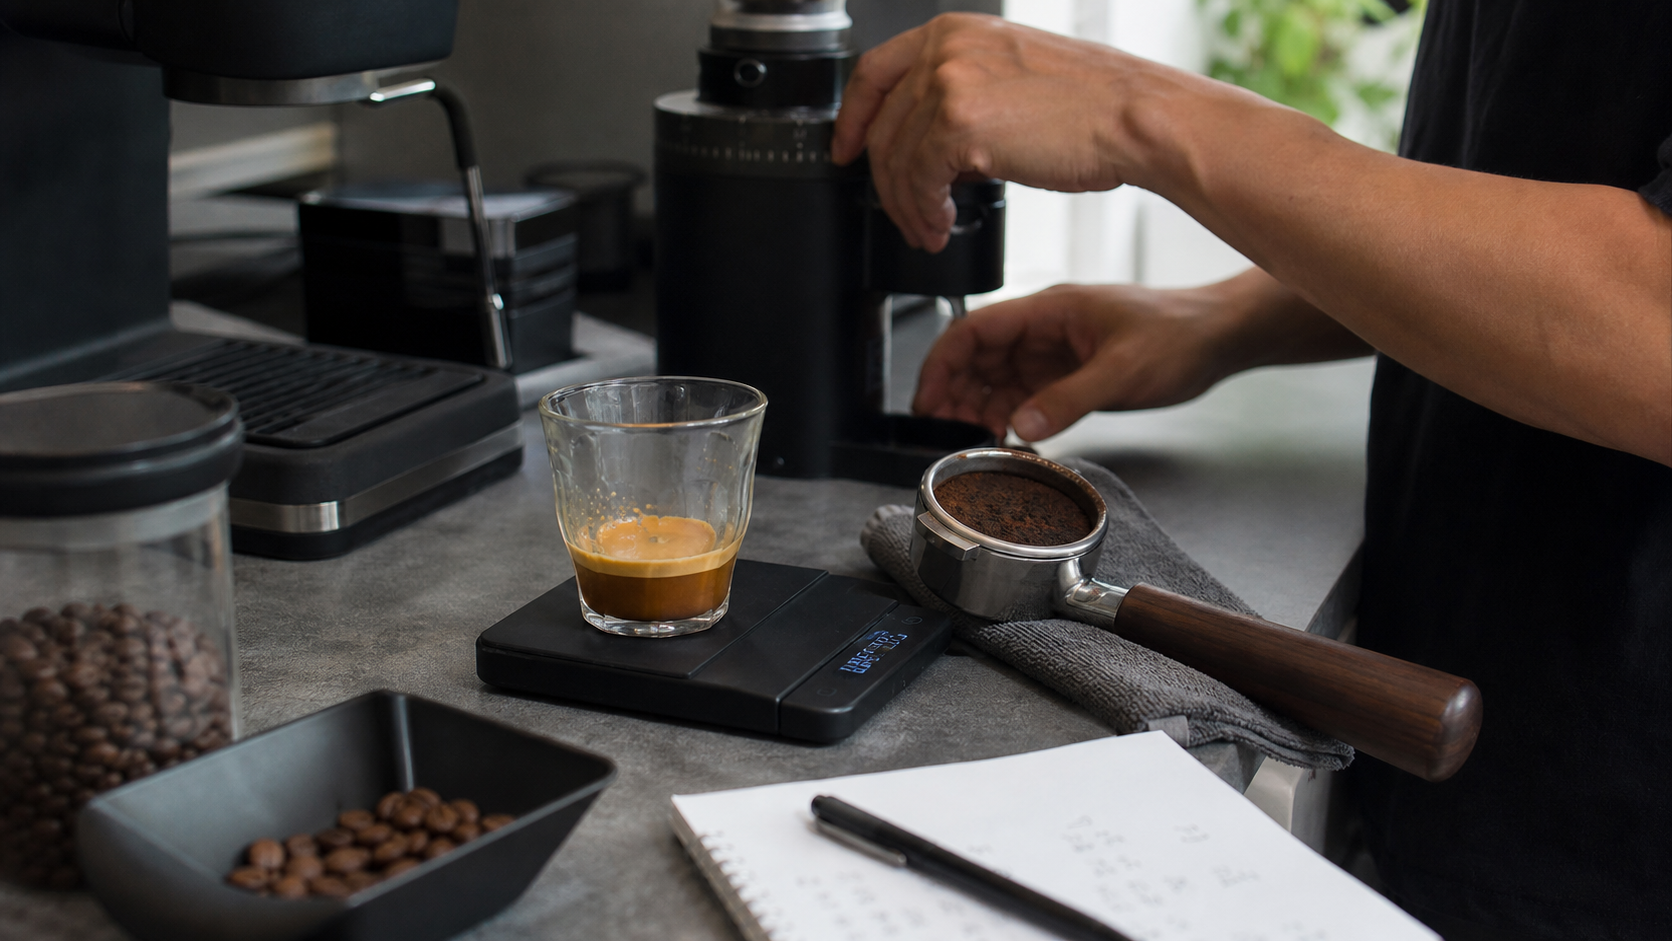
Fix 3: check dose and basket fit
Breville’s Bambino Plus manual lists its double basket range at 16-19g and notes that switching baskets requires adjusting grind amount and grind size. That idea applies beyond Breville: your basket has a practical dose range. Too little coffee can leave too much headspace and change how the puck resists water.
If the puck is soupy, shots are fast, and the taste is thin, check whether your dose is low for the basket. Adjust dose only after you know the grind setting is in the neighborhood. A quick way to spot an underdosed basket: after the shot, the puck is wet, mushy, and shows a deep imprint from the group’s shower screen. A correctly dosed puck comes out as a firm, mostly dry disc. That visual is a faster diagnostic than any number — it tells you the headspace was wrong before you even taste.
Fix 4: stop tamping like a variable
Tamping should be level and repeatable. It should not be your flavor adjustment. The Breville manual points beginners toward consistent tamp pressure and then adjusting grind. That is the right order.
Use tamping to remove air and create a flat bed. Use the grinder to control flow. The most common tamping-related cause of sourness is not pressure at all — it is a tilted tamp that creates a thin side and a thick side, which then channels. Water races down the thin side, under-extracts the rest, and you taste sour. Focus on level first, pressure second, and once your tamp is consistent, take it off the table as a suspect entirely. A variable you control should not be a variable you chase.
Fix 5: suspect water temperature or machine limits
If your grind is fine, your ratio is reasonable, and the shot still tastes undeveloped, temperature may be part of the issue. Cooler brew water under-extracts, which reads as sour. Some beginner machines recover slowly between shots, so the second or third shot in a quick session can run cooler than the first. If you pull several shots in a row, give the machine time to stabilize and follow the warm-up routine in the manual. A useful habit on any single-boiler or thermoblock machine: run a blank flush of hot water through the empty portafilter right before you lock in and pull, to bring the group up to temperature.
Do not assume this first. Most beginner sour shots are grind, dose, yield, or puck prep — temperature is the last suspect precisely because it is the one you can do the least about, and chasing it early just delays fixing the things you actually control.
A worked example: fixing one real sour shot
Abstract advice is easy to nod at and hard to apply, so here is the actual sequence I would run on a sour shot, the way it plays out at the machine. Say you pull 18g in, 36g out, and it finishes in 18 seconds — fast — and tastes sharp and thin. That is a textbook under-extraction.
Step one, grind finer by one step, keep 18 in and 36 out, pull again. Now it runs 23 seconds and the sharpness has softened but there is a hollow middle. Progress, not done. Note it.
Step two, since grind moved it in the right direction, take one more small step finer. Now it runs 27 seconds and tastes rounder, but a faint sourness lingers on the finish. The grind is close; the remaining sourness is small enough that I would stop moving grind and switch levers, because chasing the last bit with grind alone risks tipping into bitter.
Step three, stretch the yield: same grind, pull to 40g out instead of 36. That extra water pulls a little more of the sweet back-half, and the finish cleans up. If it had gone flat or watery instead, I would know I went too far and dial yield back. Note the winning recipe: 18 in, 40 out, this grind setting.
Notice what I did not do. I never changed two things at once, so every shot taught me something specific. I never touched tamp or temperature, because the early shots responded to grind — which told me prep and heat were not the problem. And I wrote each result down, so the winning recipe is now repeatable tomorrow instead of a lucky accident I have to rediscover.
That is the whole method in one session: start finer, confirm direction, fine-tune with yield, change one variable per shot, and record the result. The shots that look like magic when a barista does it are just this loop run faster.
My sour-shot checklist
- Shot ran fast: grind finer.
- Shot was short and sharp: increase yield a little.
- Shot was fast and pale: check dose and grind.
- Shot was sour and bitter: look for channeling.
- Shot changed every time: simplify the recipe and record it.
- Everything is sour: try a darker or fresher coffee before replacing gear.
That last point is worth dwelling on. If every single shot from every bean is sour no matter what you do, the suspect shifts to the coffee itself or the grinder’s ceiling. Very fresh, very light roasts are harder to extract and can read sour on a beginner setup; a few-weeks-rested medium roast is far more forgiving while you learn. And if the grinder cannot physically grind fine enough to slow the shot down, no recipe change on the list will save you — that is when the problem stops being recipe and starts being gear.
FAQ
Does sour always mean grind finer? Not always, but it is the first useful test because coarse grind is such a common cause of under-extraction. The exception is a sour-and-bitter shot, which points to channeling — there, fix puck prep before grind.
Can light roast espresso taste sour even when extracted well? It can taste brighter than dark roast. But good brightness still has sweetness and structure. Thin, hollow sharpness usually needs more extraction, not just a different description.
Why is only my second shot sour? On machines that recover slowly, back-to-back shots can run cooler. Give the machine time to stabilize and flush the group before the next pull.
Should I upgrade my machine if every shot is sour? Not first. Use the beginner setup guide and grinder budget guide to check the variables you can control — especially whether your grinder can actually grind fine enough.
The decision
Change one thing at a time, in order: grind finer, then adjust yield, then check dose and puck prep, then suspect temperature last. If the same recipe suddenly tastes worse, look at beans, water, cleaning, and machine temperature before buying a new machine. Sour espresso is almost always a recipe problem you can solve for free — and the habit of changing one variable per shot is the single skill that fixes it for good.
Source-verified and edited by Marco Reyes. Data current as of June 2, 2026.
References